Our Fall Home
Hello friends! Thanks for hanging out with me today!I have a bit of a confession. I've been hesitant about posting this little fall home tour. I started to look around and worry that our house wouldn't be grand enough in comparison to a lot of the beautiful houses out there in blogger land. However, our house is our home. It is real, lived in, and comfortable....nothing staged or spectacular and it is ALWAYS (and I do stress ALWAYS) a work in progress! After thinking about it further, I decided to treat you all like the friends that you are and show you what you would see if you came over to our house this fall. Hopefully you are able to get a couple of ideas for your home or at least enjoy the tour!
Ok....enough about that, let's get started! Come right in!

(You can see some of our fall outdoors here.)
I really didn't get into adding a lot of the seasonal oranges, reds, and yellows to the interior this year. I struggle a little with that from year to year.....seasonal or neutral? seasonal or neutral? Well, this year neutral won out! I would also say, for the most part, I kept the decorating pretty simple .... shopping our house (and attic), adding a few things here and there like mums and greenery (from our yard), and transforming some of the traditional orange and green (aka pumpkins) that I already had. You can see how I transformed the pumpkins here.
This is our small foyer.


The cedar armoire is a family heirloom and this is how it looks day to day other than the little white pumpkin.
This is what you'll see entering our front door and taking just a few short steps through the foyer. We have an open floor plan with combined living, dining, and kitchen. I added a few touches of fall throughout these spaces so let's keep going to see them in detail.....


This is the focal point of the room because it is right under the tv. I switch it up quite often. I shopped our house to find this ice bucket for the mum, a mirror from the guest room, added a few white pumpkins, and this small chalkboard that gets moved from room to room and used season to season.

A few fall magazines are scattered throughout. (I'm a Southern Living and BHG hoarder! I just can't seem to make myself throw them out!)
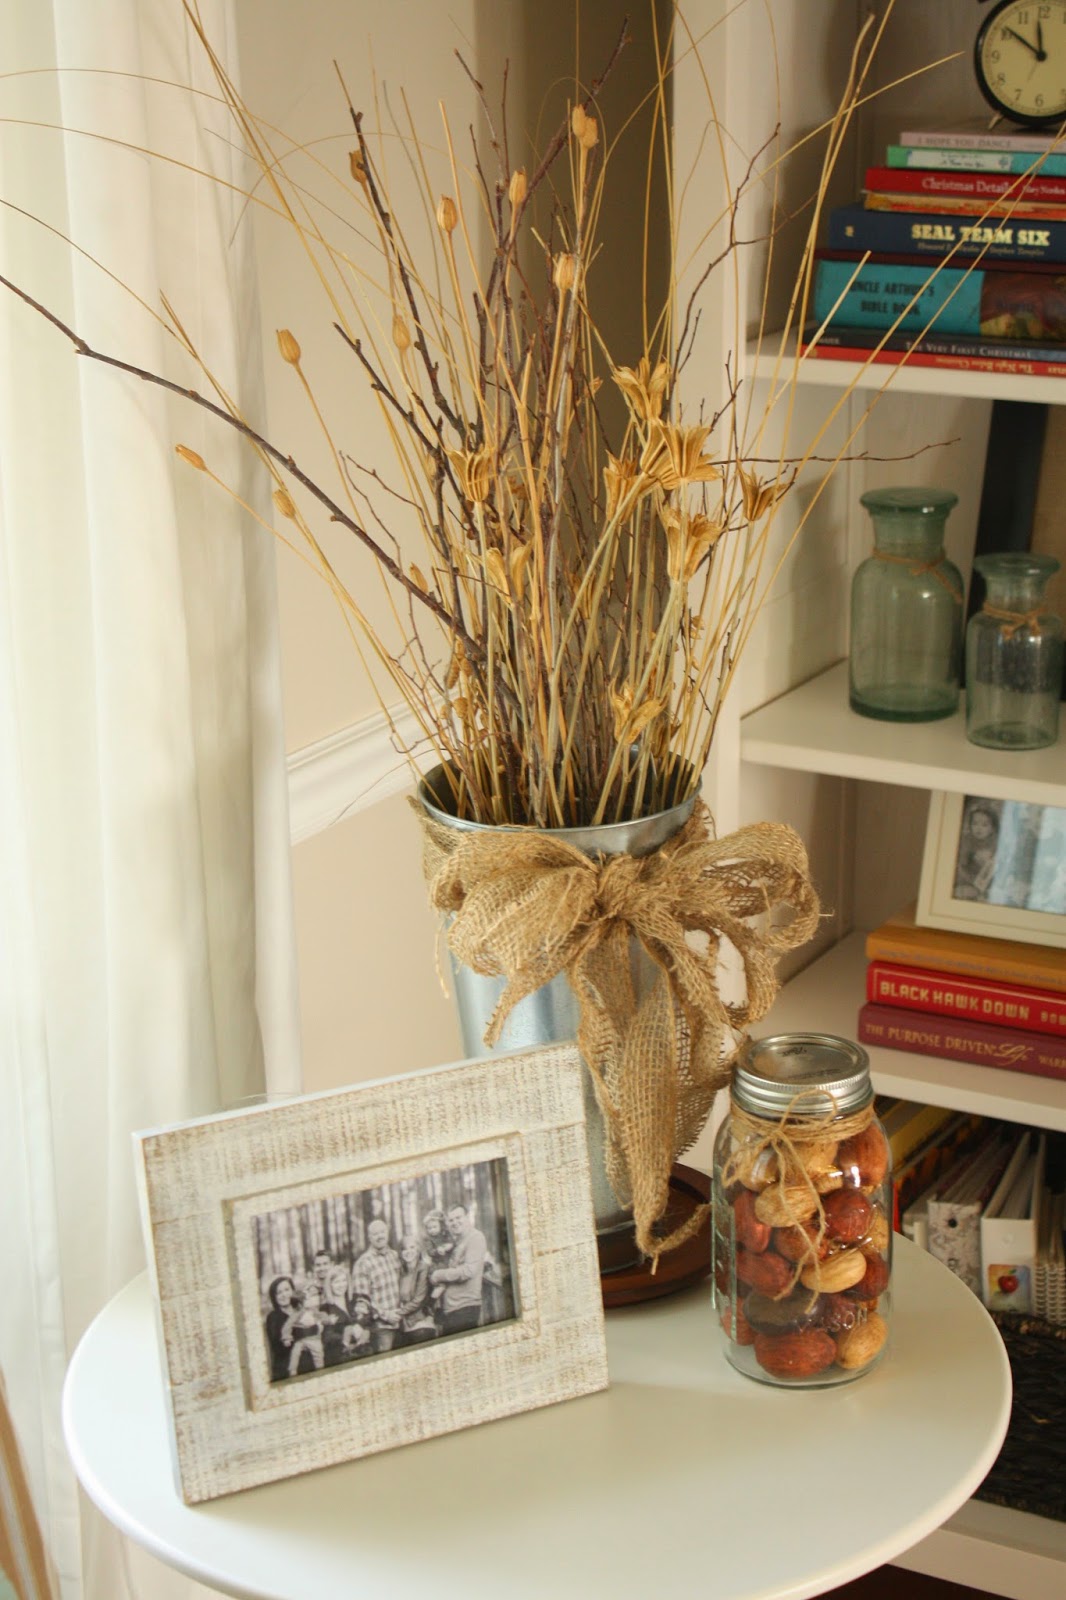

A galvanized container with a few sticks and dried flowers adds a touch of fall to this table, as well as a mason jar filled with faux acorns and nuts. I use mason jars for everything! Have you noticed!

You'll find trays pretty much on every surface in our house. I love them! It's one of the things that I'm always on the hunt for at antique and thrift stores. Not only are they great for layering but they can quickly be moved which in this case works quite well. The coffee table also happens to be the toy box! The roses are from the backyard and the little leaf candle holder I've had for years....


This little table sits beside the back door. More greenery, another pumpkin, and a few more magazines... Can you see a trend yet?


This mum makes a statement in the kitchen and is the perfect addition to the DIY island. The galvanized container is actually the base for a stand drink dispenser.


The dining table also got dressed for fall. I adore white plates... they are so versatile and work from season to season. I found the butcher block at an antique store several years ago and have cherished it since. It's the perfect size and again, is easily picked up and moved when company is coming. There's also more pumpkins, greenery, candlesticks. The little turkey I found at target several years ago and he makes an appearance every year.


I dug out the DIY burlap banner from last year. And nothing says fall like apples...especially when they are on a leaf shaped platter!
Now we'll exit the back door and take a little look around the screen porch.


The screen porch also got a few updates for fall. I typically change out the bedding from season to season along with the pillows. The table here is set with my husband's grandmother's china. You'll also find some fall magazines, candles, and more pumpkins.


And that's it.... other than this beautiful wreath hanging on the back door! This was an antique store find. I glammed it up a bit with the burlap bow and the initial.
I hope you enjoyed your visit! Thanks for spending time with me and please stop by anytime!


