Wednesday, June 25, 2014

 
Quick and Inexpensive Patriotic Wreath


Well... I finally got around to doing some decorating for the 4th of July. I've been so busy with other things that it's kind of crept up on me.   After adding the buntings to the railings and a few other things to the porch, I realized that our front door was looking a little drab.  So of course, I searched Pinterest for  some inspiration and came up with this quick, cute, and inexpensive patriotic wreath.  And it definitely fits nicely with all the other Americana décor I've got going on out there! 
 
To get started you'll need a few things:
 
Grapevine Wreath (purchased at Hobby Lobby @ 40% off) - $3.00
Garland of Greenery (purchased at HL @ 50% off - $7.50, used 1/2) - $3.25
2 - 4"x 6" flags (purchased at HL @ 30% off - pk of 4 - $1.40) - $.70
Burlap Ribbon (purchased at HL @ 50% off, used 1/2) - $1.00
Floral Wire
1" x 3" x 12" Board
Dark Walnut Stain
White Acrylic Craft Paint
Hot Glue Gun/Glue Sticks
Small  Fine Point Paint Brush
Jute String
Small - 1/2" Wood Screws
Scissors
 
 
I laid the garland out on the wreath and cut it where it would cover the top portion of the wreath (using about 1/2 of the garland).  I cut some small pieces of the floral wire and wired the garland to the wreath in several places making sure it was secured.  (You can hot glue it in but I typically just use wire.  The wire can easily be removed if you ever want to change it up.) 


I then added the flags...pretty much just sticking them thru the vines and securing them with hot glue.  Next, I cut the burlap ribbon to the length I needed to make a good bow.  I cut that piece down the middle so that I would have two thinner pieces. I liked that it raveled a little for that not so perfect bow look.  I used Martha Stewart's favorite bow method (it's also mine) to tie the bow (http://www.marthastewartweddings.com/226403/three-perfect-bows ).  I then secured the bow to the wreath with more floral wire. 


I hung it on the door just to make sure everything was looking good so far. To make the "Welcome" sign, I followed the same technique that I used for the vintage pool sign that I shared just recently.  I stained the board using Minwax Dark Walnut, let it dry, and sanded to distress the edges.  I printed out the word "Welcome", traced it with a lead pencil, retraced it to the board, and filled it in with the white acrylic craft paint using a small fine point paint brush.  Once it was completely dry, I lightly sanded over the lettering with 150 grit sand paper.  I attached the two small wood screws to the back, added the jute string, and hung it on the wreath hanger along with the wreath. 


And that is it.... The whole process only took a few hours (most of that was drying time) and cost less than $10.  You can't beat that!  I found one similar to this on Etsy selling for $70.... Wow!
 
So here it is........  Along with a few other pictures of everything else happening on the porch!


Stay tuned for more to come!  Thanks for being here!


Saturday, June 21, 2014

Creating A Vintage Looking Sign

Here in North Carolina, it's been sweltering hot and humid!  And we're only in June! Ugh!  I love warm weather but it's been so hot that I haven't been in the mood to do too many projects outside. (I guess I can't count laying in the pool as a project!) So I've spent some time these last few weeks crafting some things inside that have been on my to do list for a while but I just haven't taken the time to do.  

I found this really cute pool sign on Pinterest  that I knew I could recreate.  I've pictured it hanging on our screened porch for some time now.....
 
 
I started out with a scrap piece of 1x6 cut to 14". (This is why I don't allow my husband to touch my scrap wood pile... I find uses for even the small stuff.)  I used a miter saw to cut it to length but your local Lowes or Home Depot will cut it for you when purchasing the board.  I then spray painted both sides with Valspar outdoor paint in Peacock Blue.  I love this color.... I've used it quite a bit in my outdoor spaces.  I allowed it to dry completely and then used my handy dandy palm sander to distress the edges.  This can be done with just some 60 grit sand paper as well. 
 
Next, I freehanded the arrow using a ruler to get somewhat of a straight edge.  It doesn't have to be perfect....  I then filled in the arrow with white acrylic paint found in the craft section of  Walmart,  Hobby Lobby, Michaels, etc.  I also outlined the arrow using black craft paint.  Once it was completely dry ( I allowed it to dry overnight but it's not necessary), I sanded it a second time to remove some of the starkness of the white paint and to also give it that vintage look.  I did use my palm sander in this step but with caution....you do not want to sand off too much.
 
 
Now for the lettering.....  There are many ways out there on Pinterest to create vintage looking signs (and I've tried a lot of them).  But this method is the one I like to use when doing something simple like this.  It's easy and quick!  I used Microsoft Word to print out the word "POOL".  Here, I used the Times New Roman font because I wanted a block style lettering.  However, the font is entirely up to you.  I always make sure it is in bold print and the font size is large enough to fit my area.  In this case, I wanted it to fit within the arrow.
 
After printing it out, I turned it over, retraced, and shaded the letters with a pencil.  I then laid it out on the sign, right side up,  retraced and shaded the letters again.  This will leave an outline/guide for you to follow to paint in the letters.  Using the black craft paint and a small fine tip paint brush, I filled in the letters.  After allowing it to completely dry, I went in with some 80 grit sand paper and lightly sanded the lettering to create that vintage look. 


Now we're down to the final few steps.... I took it outside and sprayed it with a couple of coats of polyacrylic.   I then added some simple hanging hardware, u clips (found at Lowes or Walmart) and wire. 


And here it is!  Hanging from a ladder inside our screened porch.  I love it!  And it was such an easy and inexpensive project....only taking a few hours from start to finish. 
I don't know why it took me so long to get around to it! 


I hope you found some inspiration to create a vintage sign of your own!  The possibilities are endless! 
 
Thanks for stopping by and check back often for new posts!


Saturday, June 14, 2014

 
DIY No Sew Tutu


So last week, I posted a picture on social media of an adorable little tutu and onesie that I made for my great niece, Isabelle.  She is celebrating her 1st birthday pretty soon with a pink and black Minnie Mouse themed party.
 
There are a ton of tutorials on Pinterest for making these so I read several before coming up with my own version.  There are also a lot of size charts/guides out there to determine waist size if you don't have the exact waist measurement (which was the case in this situation).   Here is an example of just one.


So let's get started.... Here's what you'll need.

Materials List

2 rolls of tulle (more if you are making a bigger one)
1 1/2" Wide gross grain ribbon (for the waist)
Coordinating ribbons (can be any width)
Onesie
Iron on applique
Ruler/Tape Measure
Scissors


I cut the wide ribbon at 45" allowing 14" for the waist (my great niece is rather tiny) and the additional to tie the bow.
Find the center of your ribbon and mark it with a pin (or with a pencil) at equal distances on both sides of the center.  Since I wanted my waist to be 14",  I marked 7" on each side from the
center.  This is just a guide to give you a starting and ending point when tying on the tulle.


Determine the desired length of the tutu that you want.  For example, I wanted this one to be around 7" long.  You'll need to double the desired tutu length, adding an inch allowance for tying it around the wide ribbon. I cut a piece of tulle to 15" and used this as my guide to cut the others.  You will need about 25 pieces of each color for a total of 50 pieces.  They do not have to be perfectly cut; you will trim them later on.  (Tulle can be quite difficult to cut straight).


Now, beginning at one of your marks, start tying on your tulle.  You will fold each piece in half, slide it under the ribbon leaving a loop just above the ribbon, and pull the tails back thru the loop. This is called a slip knot.  You'll want to pull tightly on the tulle. If using more than one color tulle, you'll also want to alternate colors.  Follow this step until all the tulle strips are tied on.  Be sure to always tie the tulle in the same direction so that your knots will be symmetrical.  You'll also want to keep the tulle tightly snugged against each other.  This helps the tutu look full and poofy! 


Once all the tulle has been tied on, you'll add the coordinating ribbon in the same manner as the tulle. Cut the ribbon at the same length that you did your tulle.  In this case, I cut the ribbon at 15".  I used four coordinating ribbons, cutting three from each ribbon for a total of 12 pieces.  Tie the coordinating ribbons throughout the tutu using the same slip knot method as the tulle. 

Okay... for the final step.  Lay out the tutu and trim any long pieces of tulle or ribbon to give it a pretty uniform look.  It won't be perfect but it doesn't have to be.  You are now ready to tie it on to that sweet little person you made it for.  A little tip...use a safety pin to tighten it around the waist and then tie the bow.  This way if the bow does come untied, it will not fall off!  (If it's a little too big, just push the knots in a little tighter.  If it's not quite big enough, spread the knots out a little further.)


Iron the applique to the onesie following the manufacturer's instructions.
 
 
I purchased the tulle, onesie, and applique from Hobby Lobby.  HL usually has their ribbon by the roll on sale for 50% off every couple of weeks so it ends up being around $2.50/roll.  They also offer a coupon for 40% off any regular priced item that I used to purchase the onesie.  The applique was only a couple of dollars.  The coordinatimg ribbon I purchased from several different places... Walmart, Dollar Tree, and Hobby Lobby.  So for around $10, you can give an adorable, unique gift to someone very special!
 
As I mentioned, there are several tutu tutorials out there.  Here are a few variations/suggestions to consider:
 -Use several colors and variations of tulle.  HL carries an amazing selection of tulle..... Many colors, as well as glitter and printed (ex. polka dot).  Warning:  The glitter tulle makes a mess!
-You can also buy the tulle by the yard in the fabric section.  You will need to lay it out to cut your strips to the desired width and length.  It is more time consuming but will save you a few pennies.
-Instead of using the 1 1/2" ribbon for the waist, use 1/2-1" elastic cut 1" longer than your waist length. Stitch the ends together and tie on your tulle strips using the slip knot method but being careful not to crush the elastic when pulling the tulle tight.  You can still add the ribbon as well... just keep it in line with the elastic when tying on the tulle strips.
-When cutting the tulle strips, wrap the tulle around a piece of cardboard cut to the width plus 1/2" of your desired tutu length.  (For example, my cardboard would need to be 7 1/2" wide).  Secure the tulle to the cardboard with rubber bands.  Then cut the tulle on one side of the cardboard.  This method does give you a little straighter edge.
-You do not have to add the coordinating ribbons but it does add a little something extra.
 
And it's that EASY! 
 
 I have made several tutus in the past but this one is definitely my favorite so far!!!  They can be given as gifts, made as costumes (for children and adults), used for pretend play, keepsake photos, and even as dresses for young flower girls in weddings. The possibilities are endless!
 
Thanks for stopping by and taking the time to read thru this tutorial!  Be sure to subscribe and share it with your friends!


Monday, June 9, 2014

Apple Yumminess!
 
If you love apples and cinnamon you will love this bread!


Today I thought I would share an easy Apple Cinnamon Bread recipe. 
 
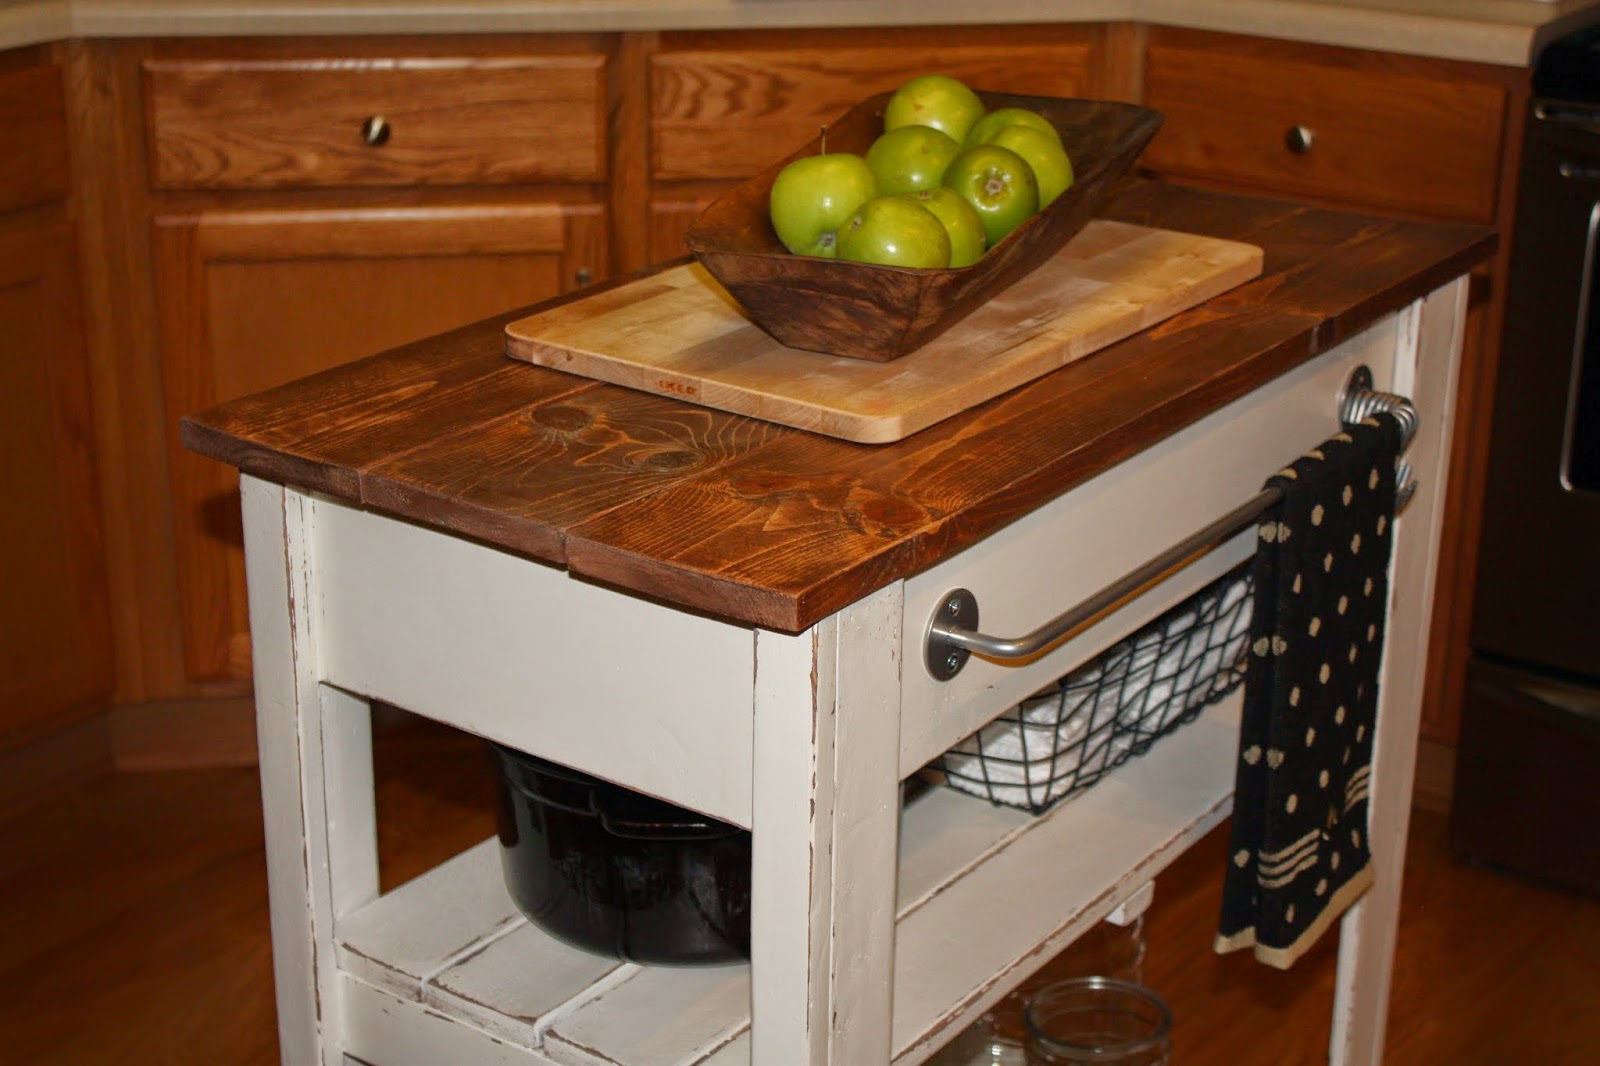
I typically keep a bowl of Granny Smith apples in a beautiful wooden bowl on my kitchen island.  ( The bowl is a priceless treasure given to me by my mother-in-law.) 


 I had several apples that were beginning to get a little soft and needed to be eaten pretty quickly.  So I turned to my favorite recipe site.... Pinterest!


I found several but decided to recreate a version of an apple fritter bread.  The recipe only called for one apple but because I needed to use up a FEW apples, I decided to use at least three per loaf  and make two loafs.... And, too, you can't go wrong with adding more apples to Apple Cinnamon Bread! 
 
There were two things about the Pinterest recipe that got my attention (Well, other than the fact it looked like sheer Yumminess!).  1. It called for some very basic simple ingredients that I had on hand. And  2. It was pretty easy with very few steps. 
 
So here's my version!
 
Ingredients:   (Per Loaf)
1/3 cup brown sugar
1 tsp ground cinnamon
2/3 cup white granulated sugar
1/2 cup butter, softened
2 eggs
1 ½  tsps vanilla extract
1 ½ cups all-purpose flour
1 ¾ tsps baking powder
½ cup milk
2-3 apples (depending on size), peeled and finely chopped (any kind is fine), mixed with 1 tbsp granulated sugar and ½ tsp cinnamon 
Glaze:
1 cup powdered sugar and 2- 3 tbsps of milk or cream (mixed together to a drizzling consistency)
 
Instructions:
Preheat oven to 350 degrees F (175 degrees C).  Grease and flour a 9x5 loaf pan. (I lined mine with parchment paper but it's not necessary.)
Mix brown sugar and cinnamon together in a bowl.
 
 
Beat granulated sugar and butter together in a bowl using an electric mixer until smooth and creamy.  Beat in the eggs, 1 at a time, until incorporated.  Stir in vanilla extract.
Combine flour and baking powder together in a bowl; add to creamed butter mixture alternating with the milk, beginning and ending with flour mixture. 
 
 
Pour half the batter into the prepared pan; add ½ the apples and brown sugar mixture.  Lightly pat apple mixture into batter.  Pour remaining batter over apple layer; top with remaining apples and brown sugar mixture.  Pat apples into batter and swirl brown sugar mixture into batter using a spoon or toothpick. 

Bake in preheated oven until a toothpick inserted into the center comes out clean, 35 – 40 minutes. While the bread is baking, mix together glaze ingredients.  Let cool for 15 minutes before removing from the pan and drizzling with glaze.
 
 
Allow glaze to set up for a few minutes.  Cut and Enjoy!


This bread is awesome and especially yummy when served warm!  I definitely will be making it again!  It would also make a very nice gift!  (Which is exactly what I did with the second loaf!)
 
I hope you found some inspiration to try this recipe.  You won't regret it! 
 
Stop back by soon!